If you are anything like me, the handiest way to check your A2 Hosted email is in the native email app on your mobile. Sure, you can follow these instructions to access your Webmail from your phone, but if you’d prefer not to login to Webmail every single time you would like to check, send or receive an email then read on.
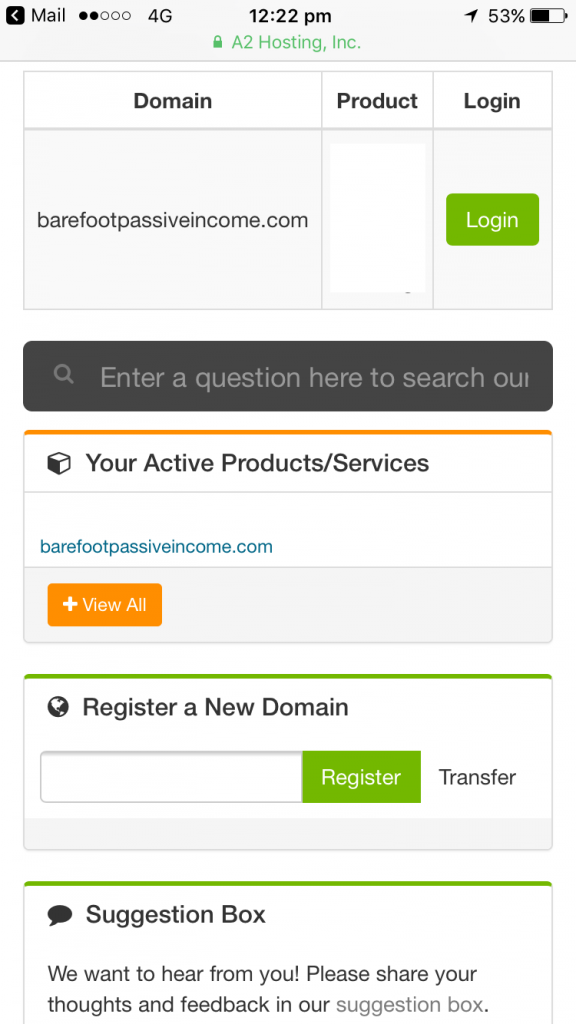
I am an apple iPhone fan, so first of all I logged in to my A2 account directly from my phone (I use the Chrome web browser, but use whichever browser works best for you).
Once you are logged in to your A2 Hosting admin on your mobile, select the green ‘Login’ button to visit your CPanel account.
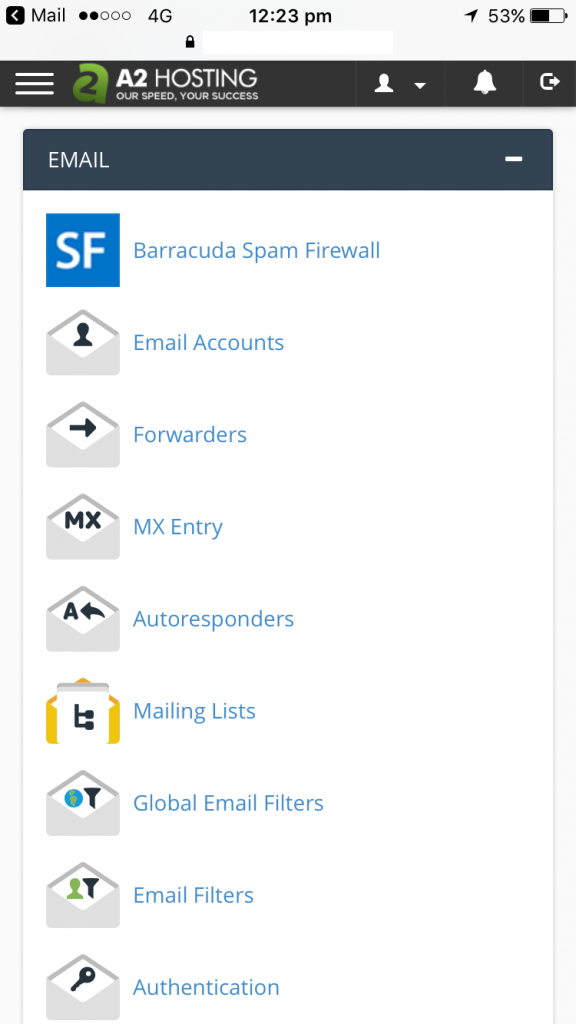
Once Cpanel has loaded, scroll down to the ‘Email’ section and select ‘Email Accounts’ from the menu.
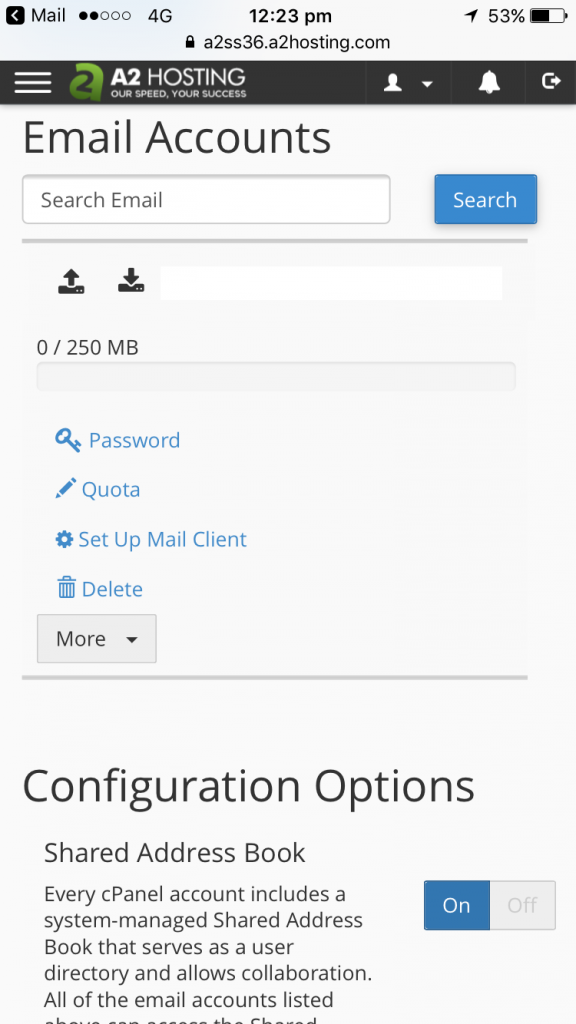
Once the next page has loaded, click/tap on ‘Set up mail client’.
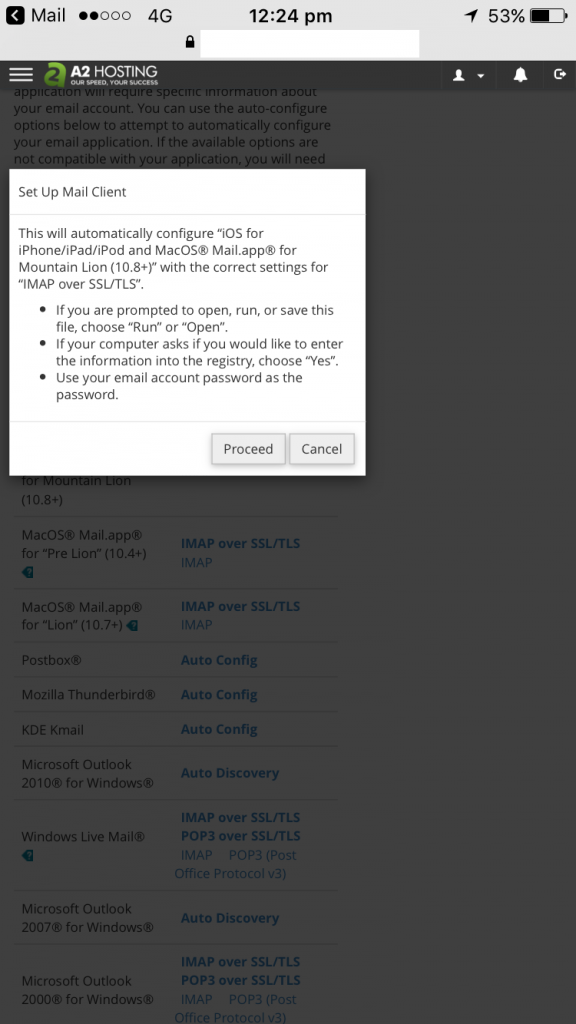
Select ‘Imap over SSL/TSL’ for your device type (in my case, it’s for iPhone). You’ll see a pop-up appear, press the Proceed button.
You’ll be taken automatically into the email client setup within your device. Click ‘Install’ in the top right of screen to continue.
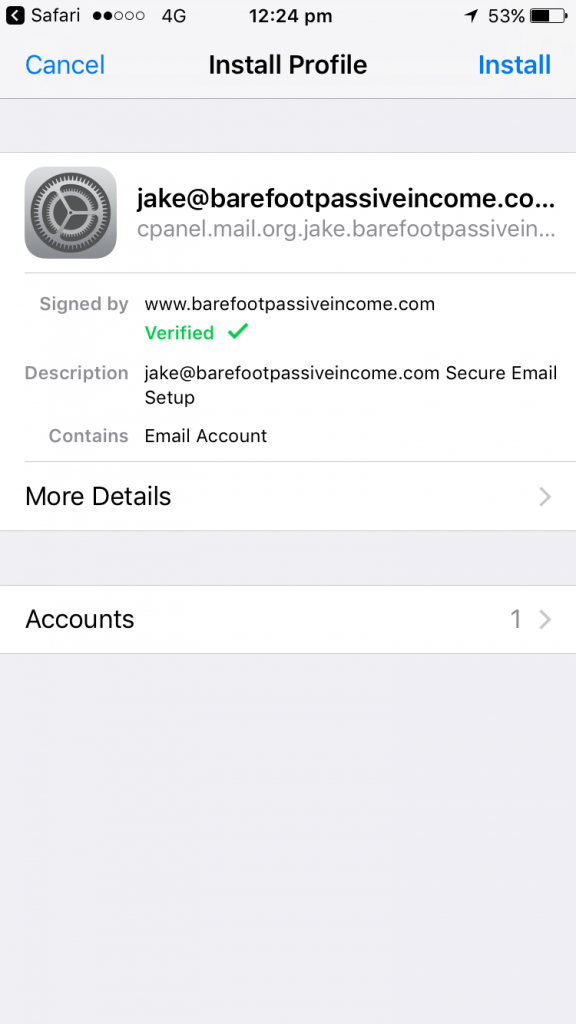
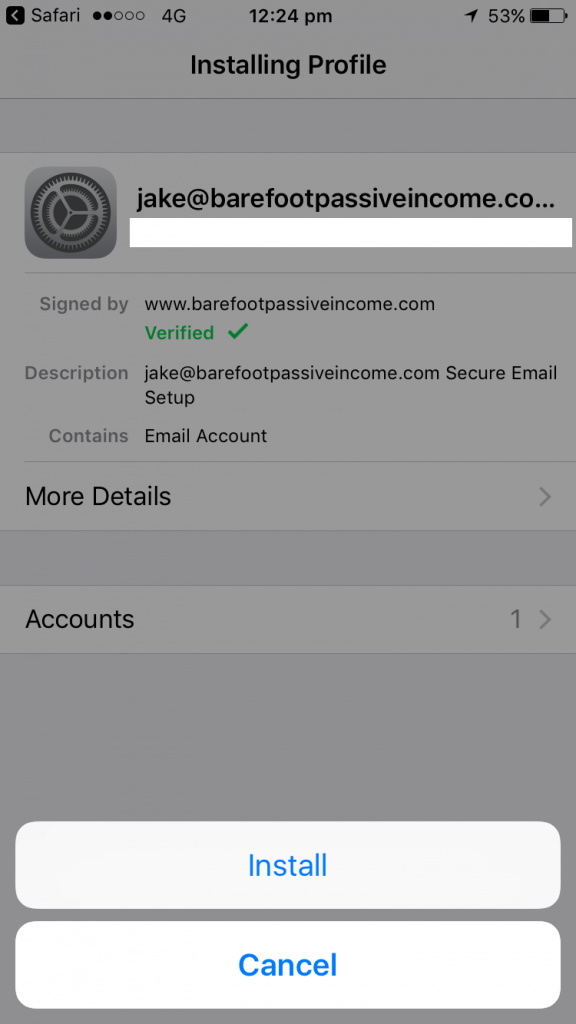
When the ‘Install’ button appears again, click it to continue.
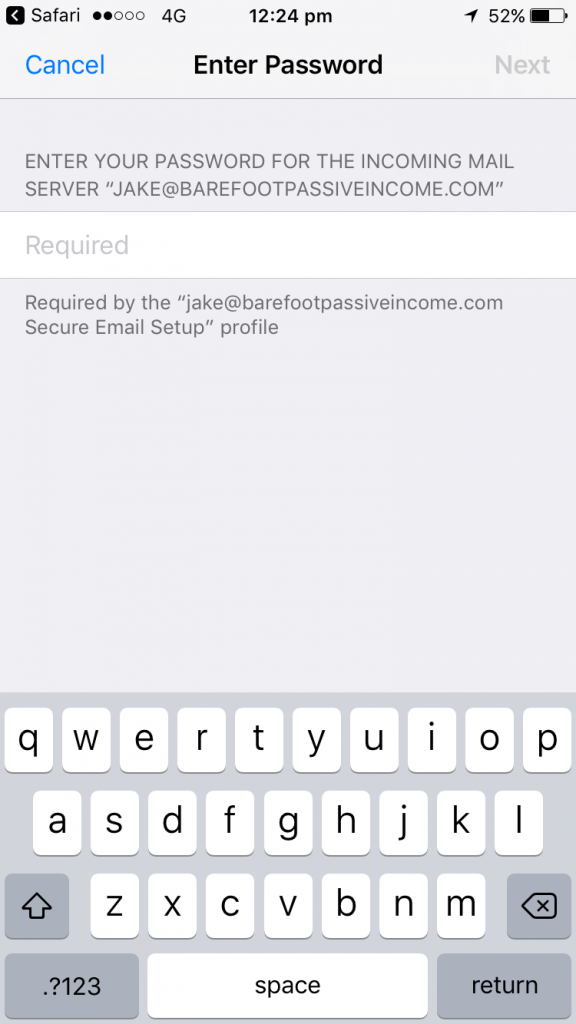
Now you’ll see the Enter Password screen. Enter that very secure email password you chose when created the email account.
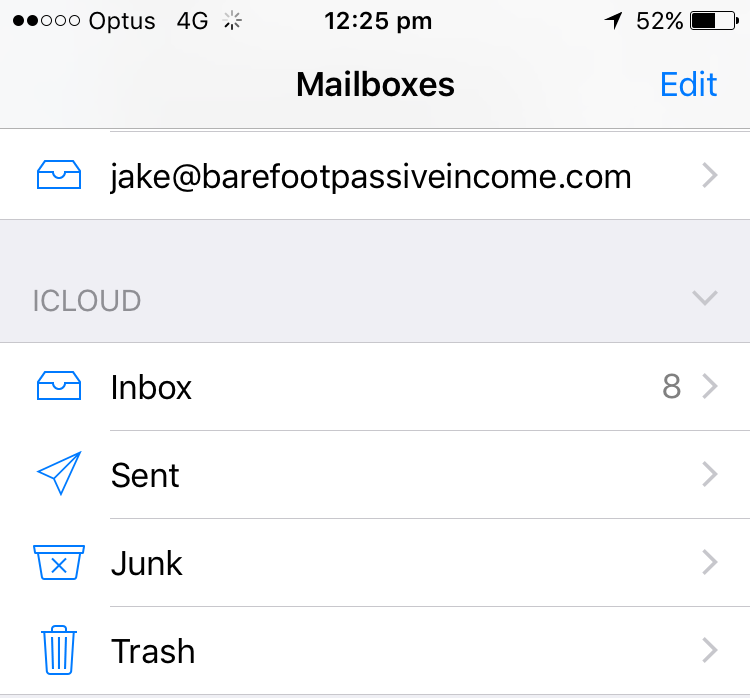
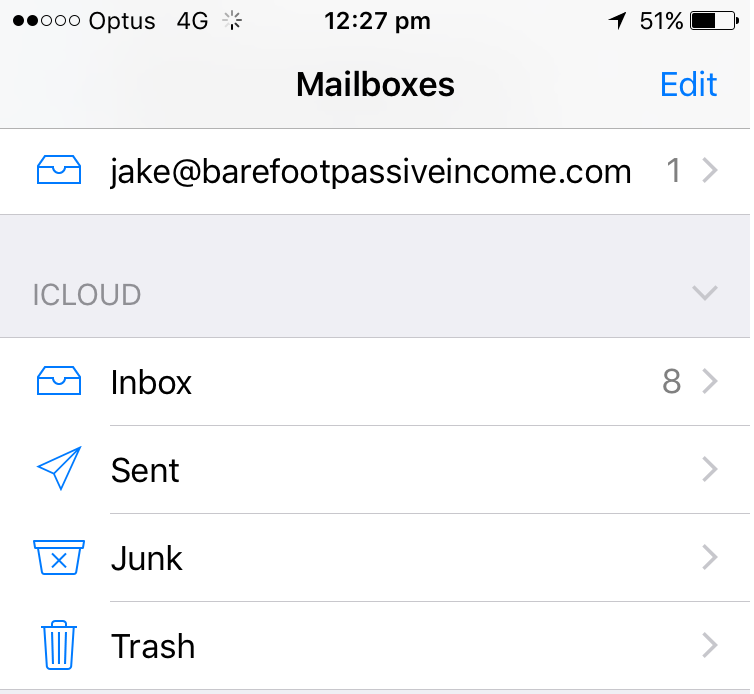
Success! You’re done. Now go and jump into your ‘Mail’ app to find your inbox. Here’s mine:
Tap on the inbox – we’re going to write a test email to make sure your new email address can receive emails.
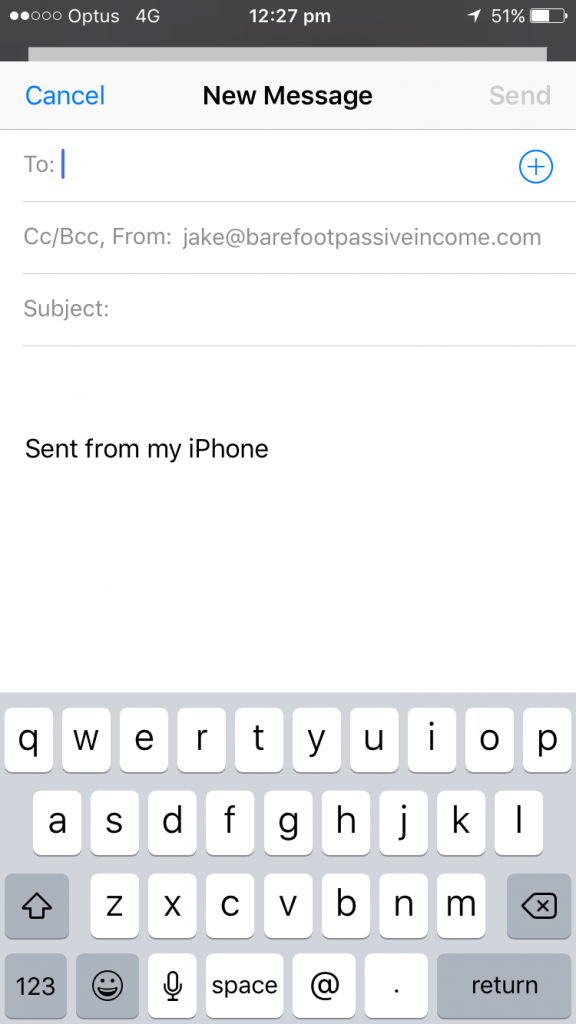
Select ‘New email’ and make sure you change the ‘From’ email address to send the test email from a different email account to this one (I suggest sending from your personal account, to make things easy).
Type your new email address and hit ‘Send’.
Go back to your Mail app.
If all goes to plan, you’ll have your first email! Open your inbox to take a sneak peek.
Whoop….there it is!

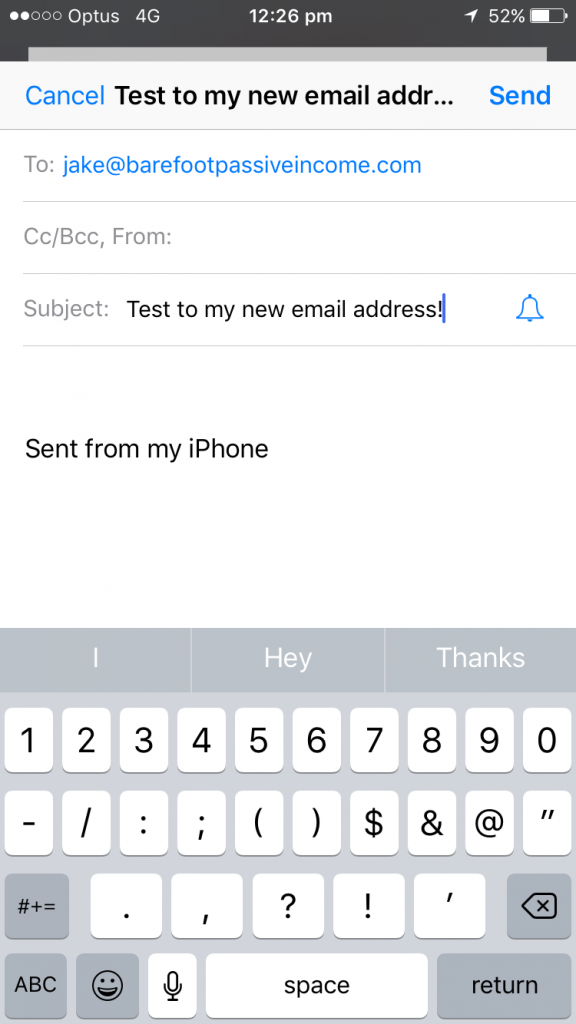
Now hit the ‘Back’ button to try sending from your new email address. When you see the New Message open, enter your personal email address in the ‘To’ field.
Make sure your ‘From’ address is set to your new email address (in my case, jake@www.thefreedomchaser.com).
Type a message that easily identifies the purpose and press ‘Send’.
Now go and check your personal inbox. Bingo!
If it’s there – you are ready to roll!
(Note: Don’t panic if it doesn’t appear right away. My first test email took 10 minutes to arrive). If it doesn’t arrive I suggest visiting the A2 email trouble-shooting FAQ.
