Step 1: Login into your A2 Hosting admin.
Log into your Client Area, scroll down to the ‘cPanel Quick Login’ section and click the green ‘Login’ button.
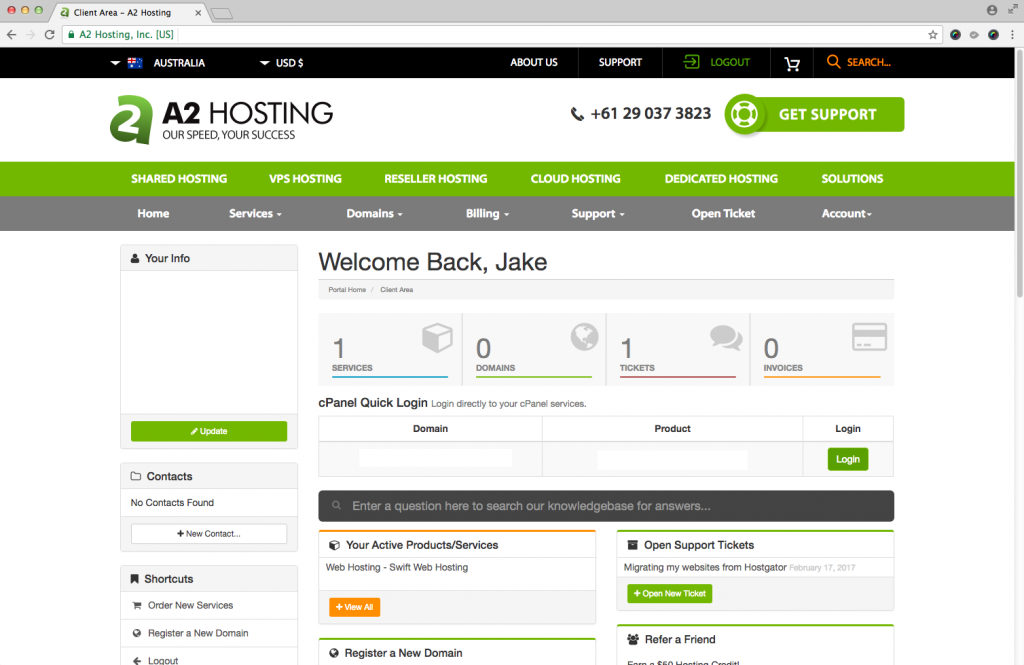
You’ll arrive at this page, your A2 Hosting Cpanel index page.

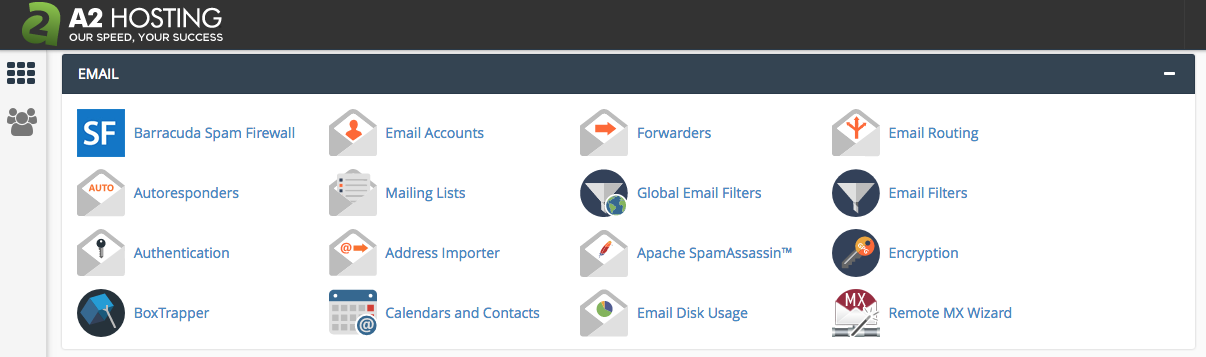
Step 2: Scroll down to the ‘EMAIL’ section and click on the ‘Email Accounts’ icon.
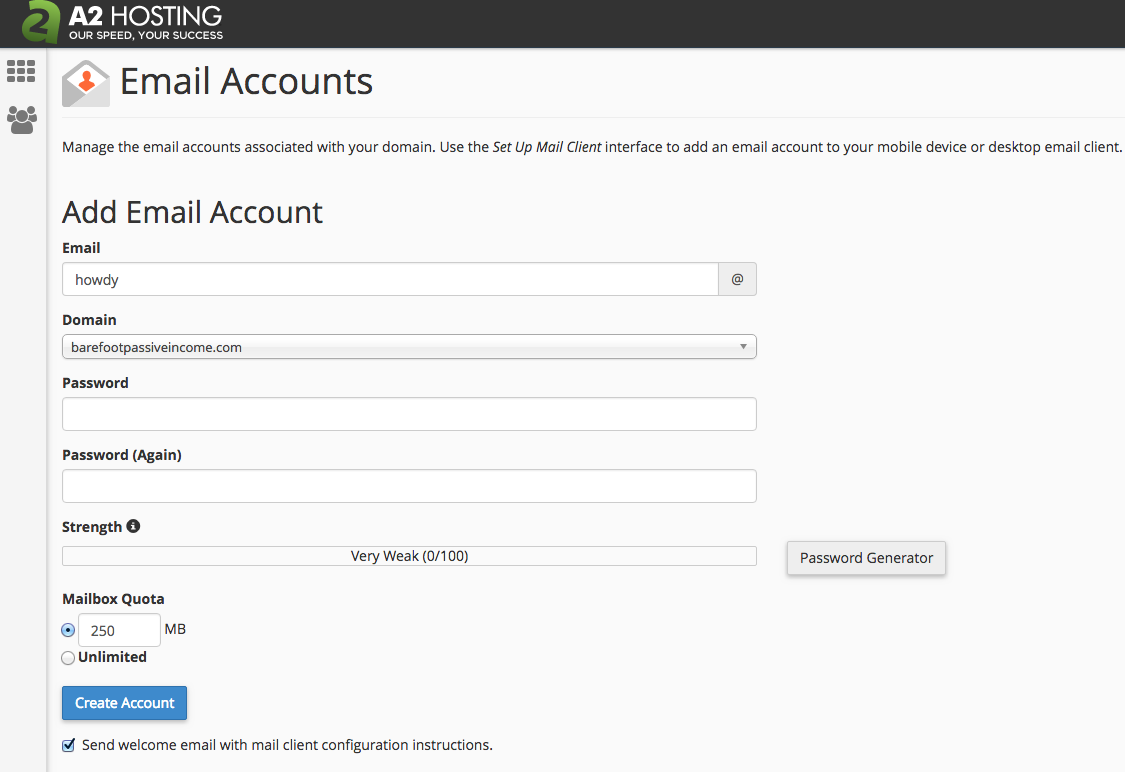
Step 3: Select your Domain name from the drop-down list, and then enter your email prefix.
For example, let’s say your name is Dave. In this case, you would type ‘dave’ into the email field and select ‘yourdomain.com’ from the Domain field, in order to create your email address dave@yourdomain.com.
Type your email prefix (I suggest either ‘yourname@’ or ‘info@’ for your first email address), enter a secure password and write it down somewhere safe (you WILL be needing this again shortly in order to access your emails).
Click the ‘Create Account’ button and you’re done!
Congratulations! You now have your very own email address setup.
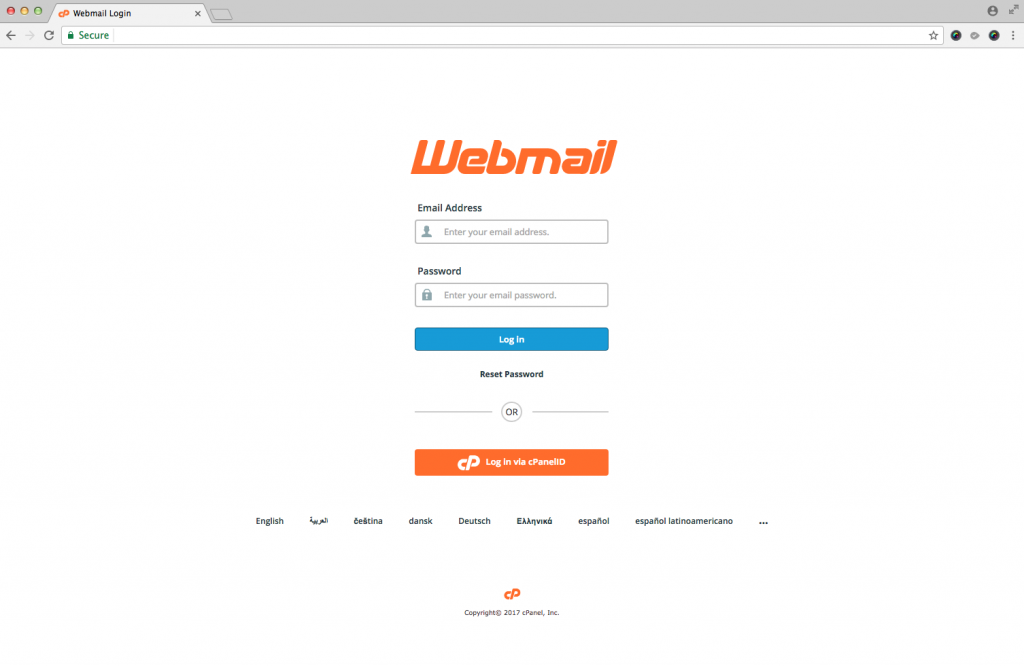
Step 4: Accessing your new email inbox
To access your mail go to www.yoursite.com/webmail or https://www.yoursite.com:2096 (replace ‘yoursite.com’ with your own website URL).
Step 5 (Optional): Setting up email access on your mobile phone
If you are anything like me, the handiest way to check your A2 Hosted email is in the native email app on your mobile. Read my article about setting up email access in your mobile’s native email app to find out how to do this.
Nice work. That’s another major milestone achieved.
Now you have an email address, you are ready to write your first post. When you are ready to take the plunge into content, visit our Barefoot Guide to Winning at Content.
For more information on how to access your email from your mobile phone, laptop or desktop computer refer to the welcome email that A2 will send you once you have completed these steps. Alternatively you can find further email instructions on the A2 Support site.